Introducing MX Fusion
INTRODUCING MX FUSION
We're excited to introduce MX Fusion, short for Mixer Diffusion, our custom real-time genAI workflow. This first incarnation runs several real-time models including SD Turbo and SDXL Turbo and compatible LoRAs. VFX from MXR route to local off-line models along with text prompts to generate an endless variety of effects. MX Fusion combines 3D source content and text prompts to create a completely new workflow: 3D-2-VIDEO.
Key Features
30-40 FPS
on RTX 4090
4K Up
Sampling
Anti-Aliasing
Multiple
Models
SD Turbo, etc..
Custom
LoRAs
for Supported
Getting Started
Go to the A.I. and click on the MX Fusion tab. Type in you prompt and hit start. That's it.
Well, that's never really it. Here are soome best practices to help you get the best looking images and FX.
Well, that's never really it. Here are soome best practices to help you get the best looking images and FX.


Running MX Fusion for the first time - Running models for the first time requires several models to be downloaded then compiled. This process can take 5 - 20 minutes depending on your internet connection and GPU. Turn debug mode on in the MX Dif tab to see this process in action.
Settings - You're likely running MXR and MX Fusion on the same GPU. This means the two will be competing for resources. It's best to go into settings and cap the frame rate at 30 or 45 fps.
Don't Feed The A.I.
Prompts - Jokes aside, the more you feed the AI visually and with prompts the better results you'll get. Be descriptive and use words that describe the style from the content like anime to the camera effects like "shadow depth-of-field". Check out the genAI community to learn more about prompt writing. You can even ask ChatGPT to write prompts for you.
For example: "Female Robot Head in profile in a 3D cinematic high quality masterpiece shallow depth of field style"


Parameters - Several MX Dif settings can be changed in real-time. The two Step Schedule settings are the most powerful. The lower the number of step 1 the more the AI will dream. This allows for more resolved images but less of the original motion and shape of the MXR VFX. Step Schedule 2 adds detail, the higher the number the better up to 50 but sometimes this can cause images to look overly contrasted and burnt.
Custom Models and LoRAs - If you're havn trouble try enabling the debug window on the MX Dif tab to see the console window and note errors. Models are very GPU memory intensive which can be problematic on GPUs with less memory.
To change the model, LCM, VAD or LoRA you can copy / paste the file location of downloaded weights or copy Hugging Face IDs. For Instance:
File Directory:
c:\[Your Safetensors]\safetensor.safetensor
Hugging Face ID:
StabilityAI/sd-turbo
To change the model, LCM, VAD or LoRA you can copy / paste the file location of downloaded weights or copy Hugging Face IDs. For Instance:
File Directory:
c:\[Your Safetensors]\safetensor.safetensor
Hugging Face ID:
StabilityAI/sd-turbo


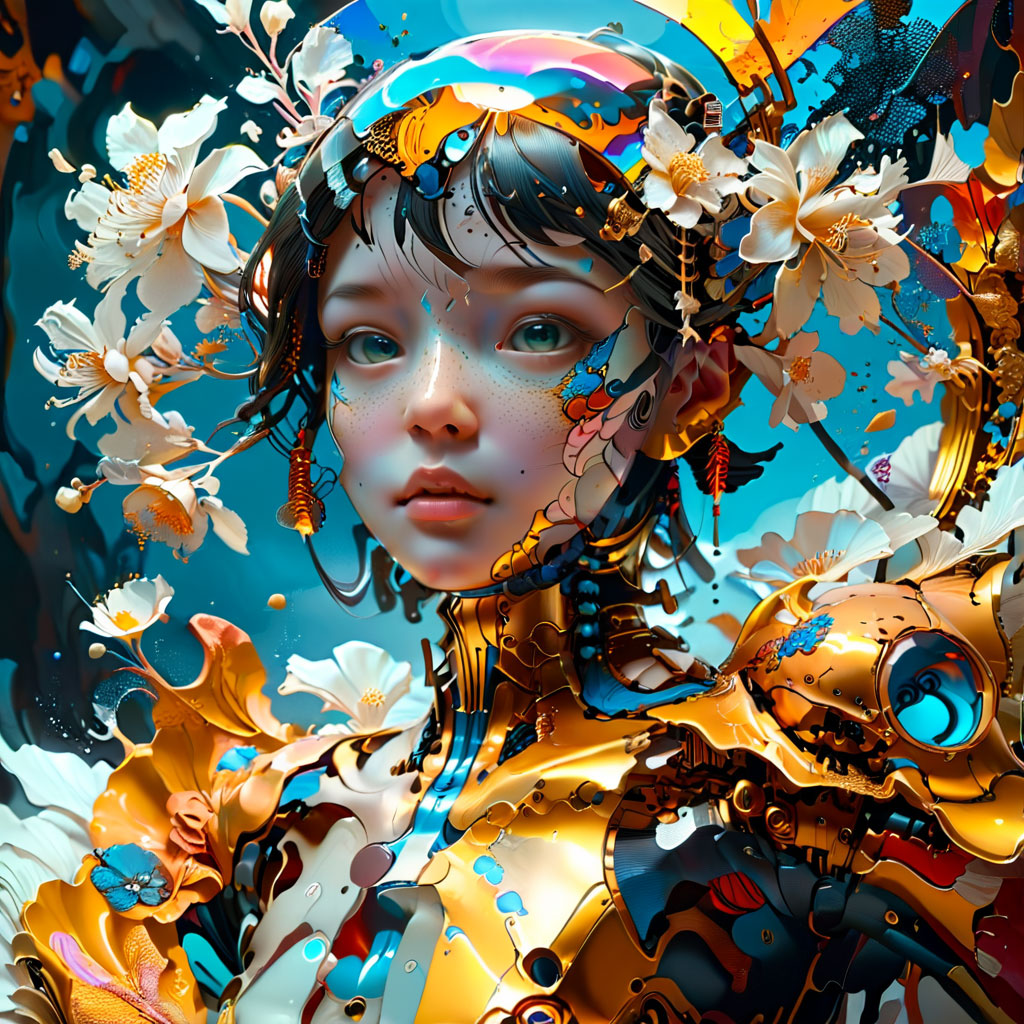
Image by GalleonLisette on Civic.AI
Custom Models - MX Fusion is compatible with Stable Diffusion trained models such as SD-Turbo (Default) and Kohaku-v2. Copy "KBlueLeaf/kohaku-v2.1" into the Model dialog in MX Fusion to download it or go to:
https://huggingface.co/KBlueLeaf/kohaku-v2.1
https://huggingface.co/KBlueLeaf/kohaku-v2.1
Custom LoRAs - Combine multiple LoRAs and adjust their weighting by adding an array using the plus sign. One of our favorites LoRAs is: Dreamy XL for SDXL Turbo
You can copy this Hugging Face ID into MX Fusion as a LoRA or manually download it from the link above: Lykon/dreamshaper-xl-1-0
You can copy this Hugging Face ID into MX Fusion as a LoRA or manually download it from the link above: Lykon/dreamshaper-xl-1-0
Visual FX - The FX section allows for 4 different types of processing for MX.RT output:
1. Normal - Native 512x512 up sampled to your screen size.
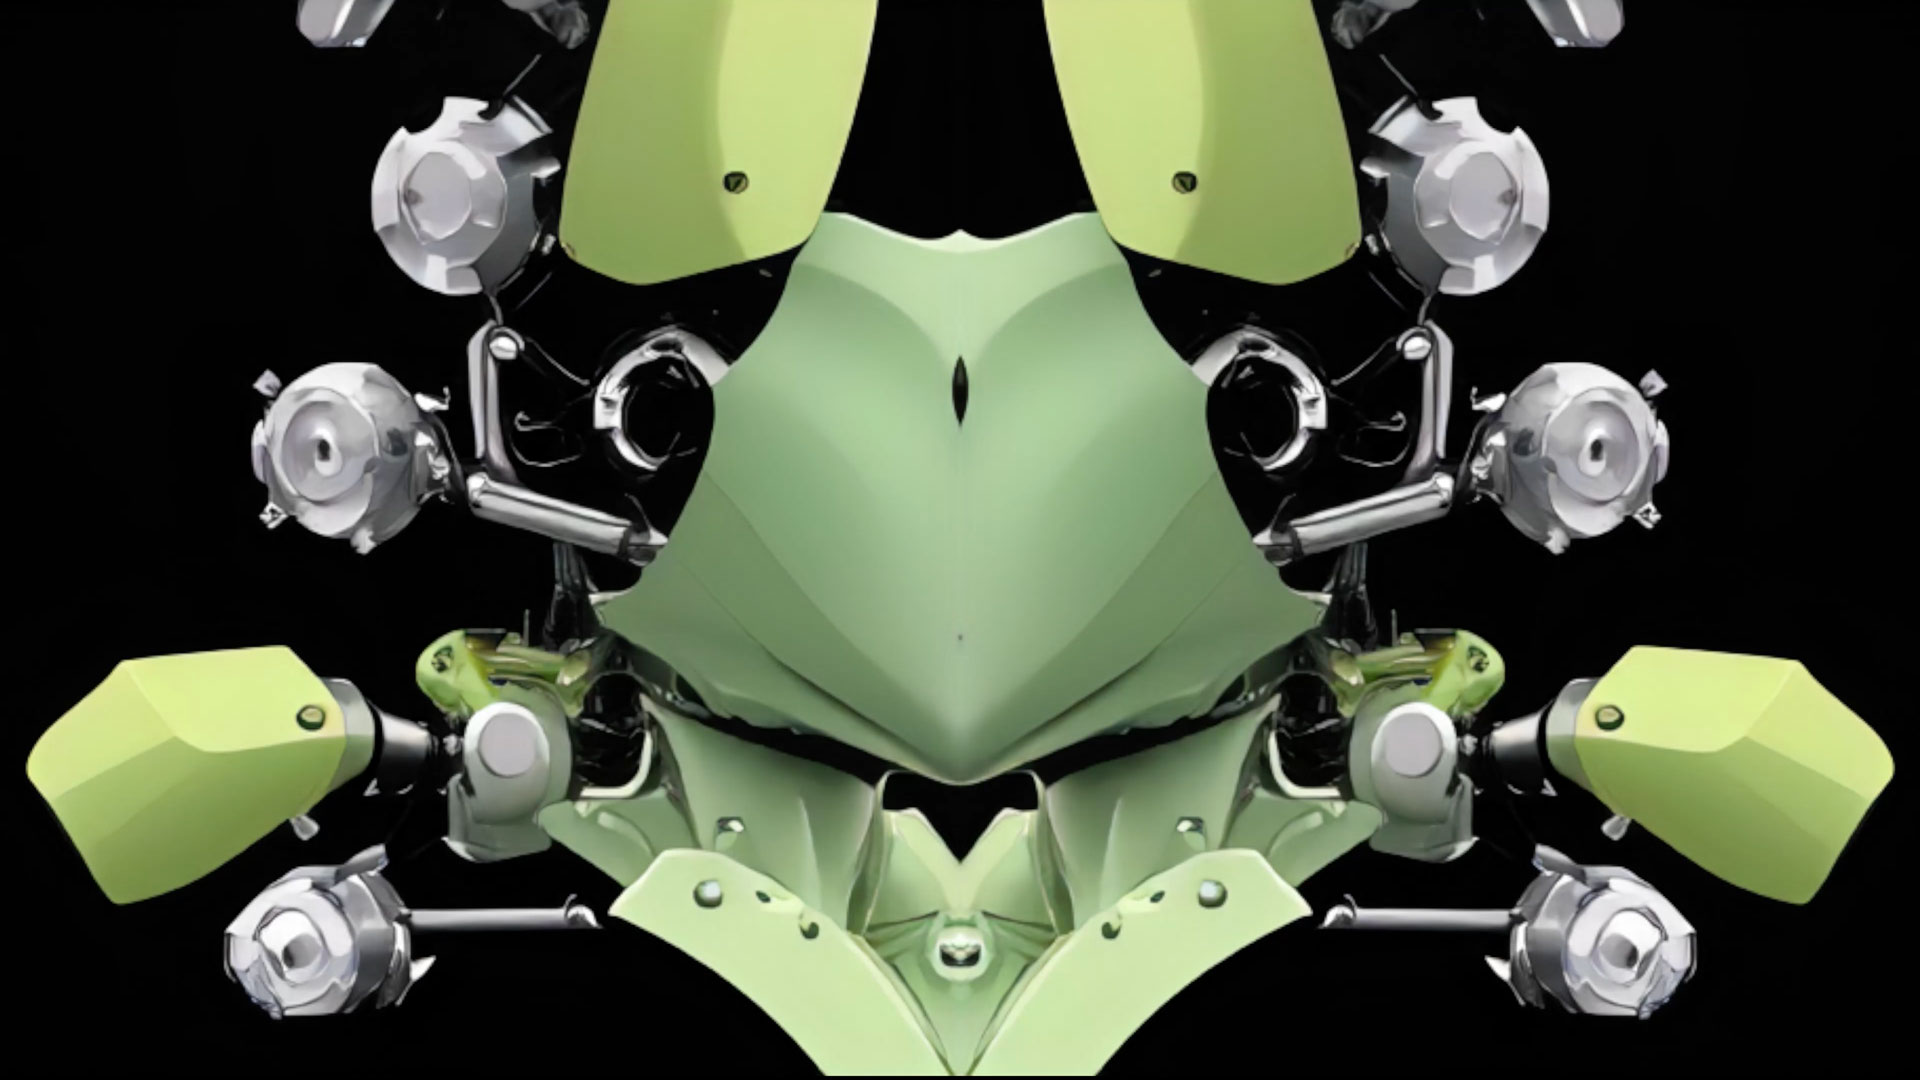
2. Mirror - Takes the square generate video and creates a mirror image doubling the image horizontally. Native resolution: 1024x512
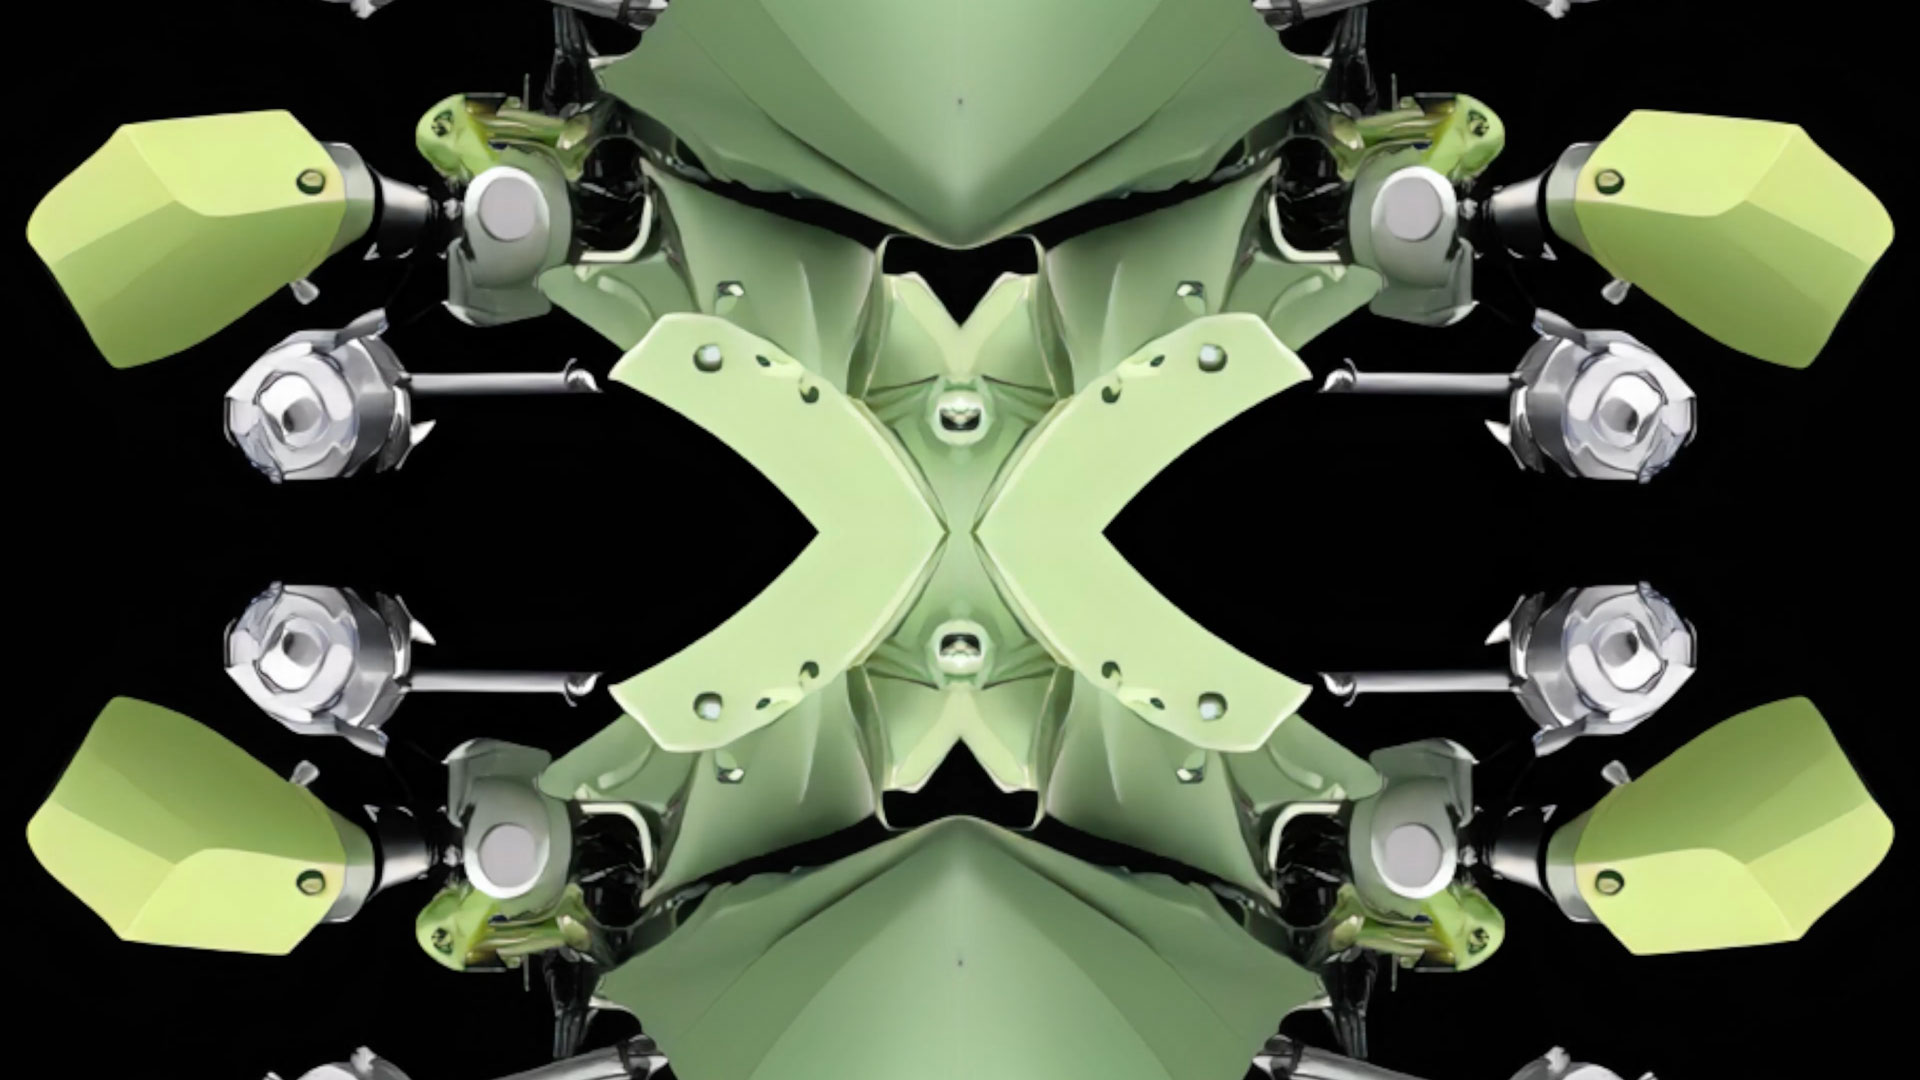
3. Quad - takes the square generate image and mirrors it left to right and top to bottom. Native resolution: 1024x1024
You can preserve the native aspect ratio by disabling stretching.

Mirror Effect

Quad Effect
Resolume Support
We added video output via Spout enabling video output to Resolume.
Instructions
1. Place a camera in the scene
2. Add the Spout Actor into your scene
3. Go to Resolume > Sources
4. Scroll to the bottom of the list and look for MXR
Instructions
1. Place a camera in the scene
2. Add the Spout Actor into your scene
3. Go to Resolume > Sources
4. Scroll to the bottom of the list and look for MXR
Improved Particle FX
In this update we also added new parameters to Swarm including Rotation and linear force, which can be used to create star field effects and more.
We also fixed bugs that prevented shaders from loading correctly on the Spiral and Spiral Advanced FX tools.
We also fixed bugs that prevented shaders from loading correctly on the Spiral and Spiral Advanced FX tools.
New Bundled Assets
We introduced external file support for GLTF, OBJ and FZBX in v1.1, but we know it helps to have amazing assets from the jump.
New in v1.3:
Trees and Plants
HDRI Backgrounds
New in v1.3:
Trees and Plants
HDRI Backgrounds


Quality-of-Life Improvements
Many little UI elementsha been impoved. For Example:
1. The FX button in the right side tool bar now links to FX in the Content Browser. Below the FX icon we added a new icon for post processing effects such as color grading, chromatic adoration, exposure, etc.
2. Clicking on an item in the outliner now changes the focus of the details panel.
1. The FX button in the right side tool bar now links to FX in the Content Browser. Below the FX icon we added a new icon for post processing effects such as color grading, chromatic adoration, exposure, etc.
2. Clicking on an item in the outliner now changes the focus of the details panel.
We also refactored how assets loaded to improve initial app load times. However, this can cause a stutter when dragging and dropping items from the content browser into your scene for the first time.


Roadmap
We've already started on features for our next update. Here is a preview of things to come:
1. MoGraph tools
2. GenAI image latency and consistency improvements
3. AI Creative Up Sampling
4. GenAI in-painting
1. MoGraph tools
2. GenAI image latency and consistency improvements
3. AI Creative Up Sampling
4. GenAI in-painting


Disclaimer - Stream Diffusion is provided under the terms of the Apache 2.0 License and certain portions are provided under non-commercial research licenses. By using this software, you agree to comply with the terms and conditions outlined in these licenses.Apache 2.0 LicenseStability AI models are provided under non-commercial research licenses. Stability allowing companies with revenue below $1M a year to use their software. Stability License
This software is provided on an "AS IS" basis, without warranties or conditions of any kind, either express or implied, including, without limitation, any warranties of merchantability, fitness for a particular purpose, non-infringement, or title. In no event shall Pull LLC or its contributors be liable for any damages arising in connection with the software, whether direct, indirect, incidental, or consequential. Liability Limitation: Under no circumstances shall Pull LLC be responsible for any loss or damage that results from the use of this software, including but not limited to data loss, business interruption, or financial losses. You use this software at your own risk.
This Stability AI Model is licensed under the Stability AI Community License, Copyright © Stability AI Ltd. All Rights Reserved


.svg.png)
